Decorating a cake for a loved one’s birthday is a joyful experience. One of the most critical parts of any cake decoration is the message, especially the classic “Happy Birthday” text. Writing on cakes can be challenging, but with the right tips and tools, you can create beautiful lettering that makes your cake a true masterpiece. In this article, we’ll dive into how to write Happy Birthday on a cake like a pro. We will also provide essential tips, tools, and techniques to make your cake writing stand out.
Why Writing on a Cake Is Important
The tradition of writing messages on cakes has been around for centuries. While cakes are the centerpiece of any celebration, the message on them makes the event even more personal and memorable. Whether it’s a heartfelt “Happy Birthday” or a congratulatory message, the writing serves as a way to express love, gratitude, and celebration.
Writing on cakes allows you to:
- Personalize the message for the recipient.
- Add a creative touch that complements the cake design.
- Make the event more special and meaningful.
Tools You Need for Writing on Cakes

Before you start writing, it’s important to gather the right cake decorating tools. These will ensure that your letters are clear, neat, and professional. Here’s a list of must-have tools:
- Piping bag: Essential for controlling the flow of icing.
- Piping tips: Choose tips with smaller openings for finer writing.
- Parchment cones: Great for creating small, disposable piping bags.
- Icing: Buttercream, royal icing, or melted chocolate works best for cake writing.
- Stencils: Use letter stencils if you’re nervous about freehand writing.
If you don’t have a piping bag or piping tips, you can easily use a Ziploc bag by cutting off one of the corners to create a DIY piping tool. Be sure to start with a small cut to control the icing better.
Why You Should Avoid Using Gel Pens
Many beginners turn to gel pens thinking they will be easier to use. However, gel pens often cause smudging, and the writing doesn’t always set well on cakes. It’s best to stick with traditional icing or melted chocolate for a more polished result.
Step-by-Step Guide on How to Write “Happy Birthday” on a Cake
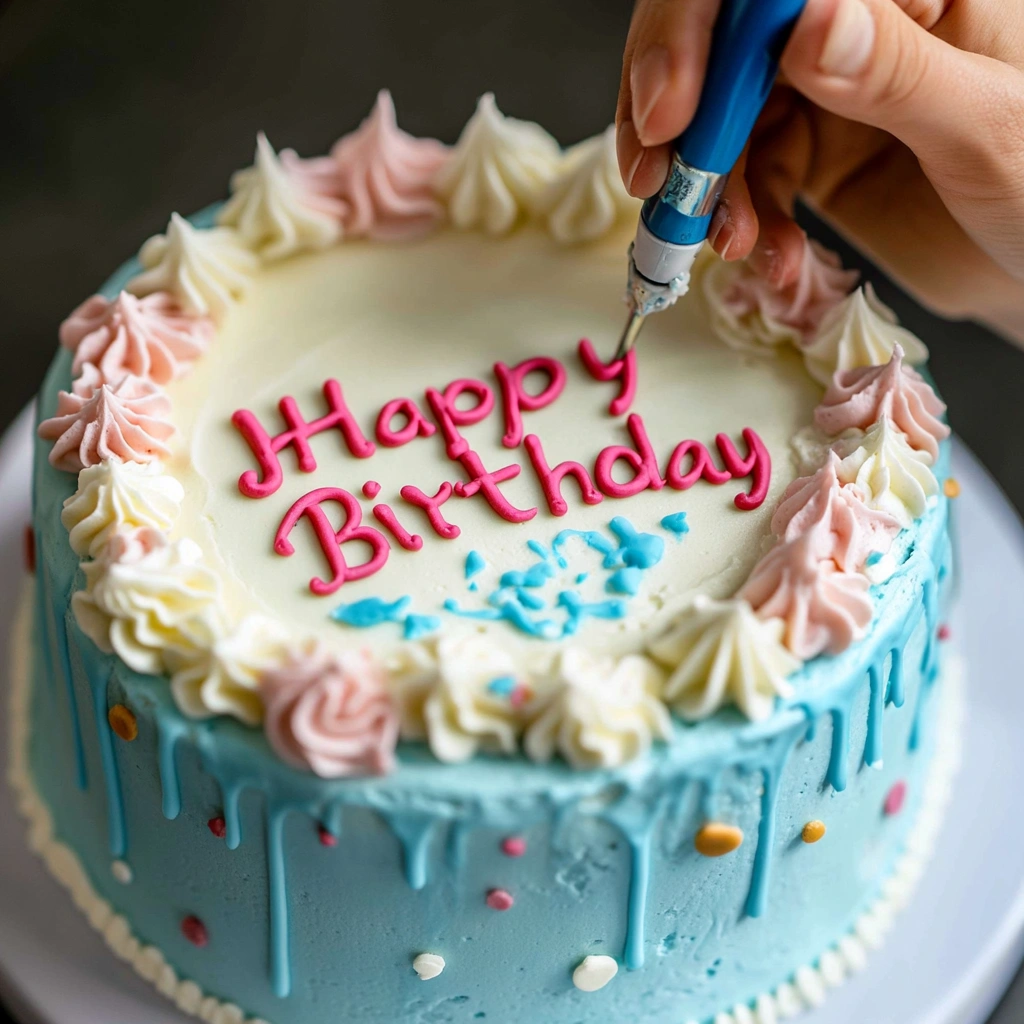
Now that you have your tools ready, it’s time to write your message on the cake. Follow this step-by-step guide to ensure your cake writing is flawless:
Step 1: Choose the Right Icing for Writing
Buttercream, royal icing, and chocolate ganache are the most common types of icing used for writing. Here’s a breakdown of each:
- Buttercream: Soft and smooth, but can be tricky for detailed writing. Ideal for thicker letters.
- Royal icing: Dries quickly and holds its shape, making it great for fine, intricate writing.
- Chocolate ganache: Smooth and glossy, chocolate works well for darker cakes and adds a touch of elegance.
Step 2: Prepare the Cake Surface
Before writing, make sure the cake surface is smooth. Uneven frosting will make your letters look messy. Here’s what you need to do:
- Frost the cake evenly using a spatula.
- Let the frosting set in the refrigerator for at least 30 minutes to create a firm surface.
Step 3: Practice Writing First
It’s always a good idea to practice before writing directly on the cake. Grab a sheet of parchment paper or use the back of a baking sheet. Practice the following:
- Write the entire message.
- Practice spacing between the letters.
- Try different pressure levels to see how they affect the thickness of the letters.
Step 4: Writing on the Cake Using a Piping Bag
Now, you’re ready to write on the cake. Follow these tips:
- Hold the piping bag at a 45-degree angle to the cake’s surface.
- Start in the middle of the message and work your way out. This ensures the text is centered.
- Apply even pressure to the piping bag to control the flow of icing.
- Write slowly to avoid mistakes and keep the letters uniform in size.
If you’re feeling anxious about freehand writing, use a stencil. Simply trace the message with a toothpick or knife before piping the icing over the outline.
Step 5: Fixing Mistakes
Even professionals make mistakes, and the good news is that they’re easy to fix. If you notice an error, don’t panic:
- Use a small, damp brush to gently smooth out any smudged letters.
- For bigger mistakes, you can scrape off the writing with a knife and refrost that section before rewriting.
Creative Styles and Designs for Writing on Cakes
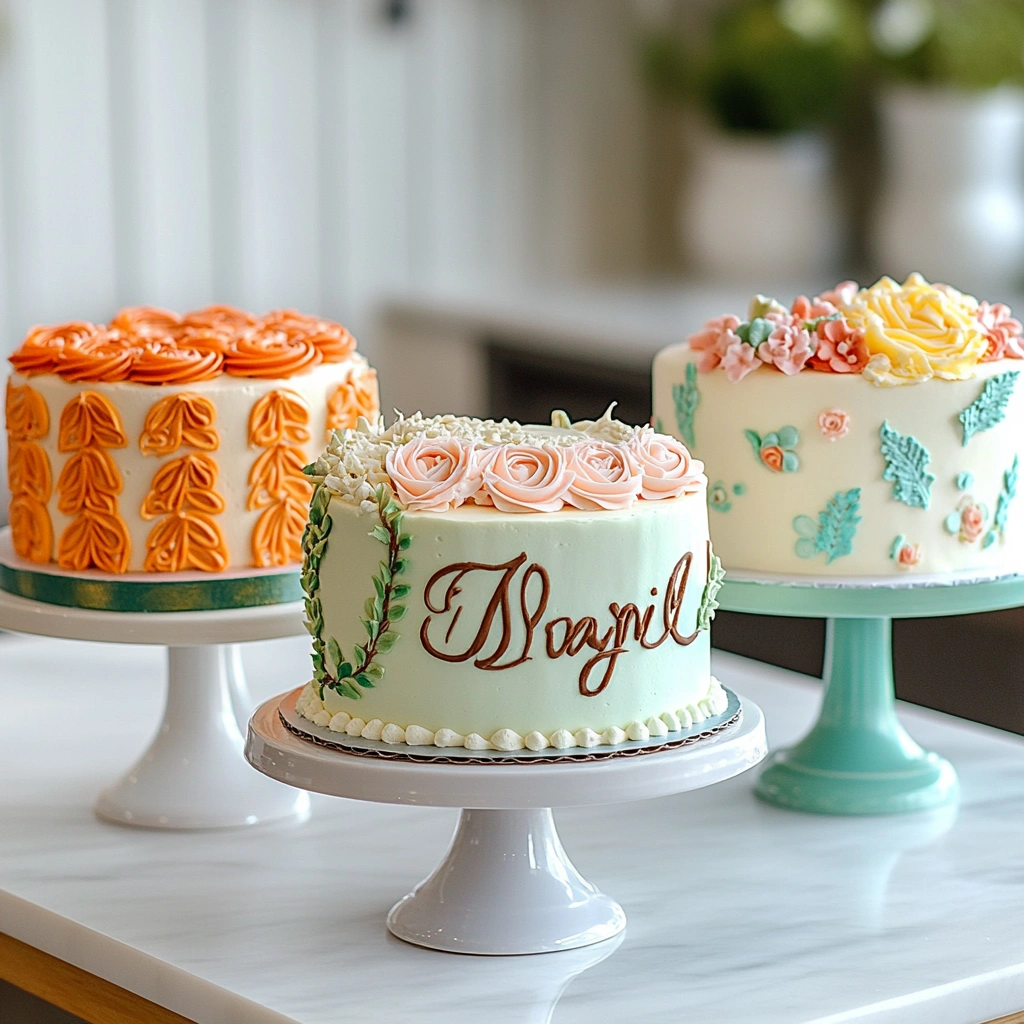
Adding a creative flair to your cake writing can take it to the next level. Here are some ideas:
1. Different Fonts and Lettering Styles
- Block letters: These are bold and clear, perfect for kids’ birthday cakes.
- Cursive writing: Adds elegance and is ideal for more formal occasions.
- Calligraphy: For an artistic touch, try adding flourishes to your lettering.
2. Add Color to Your Writing
- Use colored icing to match the cake’s theme.
- Add edible glitter or food-safe metallic paints to make the writing pop.
3. Write with Fondant or Chocolate Letters
If you want to try something different, consider creating the letters out of fondant or chocolate. Here’s how:
- Roll out fondant and use alphabet cutters to create each letter.
- Melt chocolate, pipe it into letter molds, and let it set before placing the letters on the cake.
These techniques add dimension and texture to your cake design.
Common Challenges and How to Overcome Them
Writing on cakes can be tricky, but knowing how to troubleshoot common issues will help you achieve perfect results.
1. Spacing Issues
If you’ve ever started writing only to realize you’re running out of space, you’re not alone. To prevent this, always:
- Plan the spacing before you start.
- Lightly mark guidelines using a toothpick to ensure evenly spaced letters.
2. Lettering Consistency
Inconsistent lettering can make your cake look unprofessional. Here’s how to avoid that:
- Keep your hand steady.
- Maintain even pressure on the piping bag.
- Take breaks between words to check your progress.
3. Smudged or Broken Letters
Smudges and breaks are common, especially if the icing is too soft. To fix these:
- Let the icing firm up before touching the letters.
- Use a small brush to carefully repair broken lines or smooth over smudges.
Alternative Ways to Write “Happy Birthday” on Cakes
If piping isn’t your thing, don’t worry! There are several other methods you can use to write on cakes:
1. Using Edible Markers
Edible markers are a convenient option for writing on fondant-covered cakes. These markers allow you to:
- Write clean, precise messages.
- Add small details or designs.
However, edible markers may not work well on softer icings like buttercream.
2. Pre-Made Letters and Toppers
If you’re short on time or don’t feel confident in your piping skills, you can always use pre-made fondant letters or cake toppers. These are easy to apply and come in various fonts, colors, and sizes.
Using pre-made decorations is a great way to save time while still personalizing the cake.
FAQs on Writing Happy Birthday on a Cake
Here are answers to some of the most common questions people ask about cake writing:
What Icing Is Best for Writing on a Cake?
The best icing depends on the look you want to achieve. For detailed work, royal icing and chocolate are ideal because they hold their shape well. Buttercream is a good choice for larger, thicker letters.
How Do I Write on a Cake Without Piping Tools?
You can use a Ziploc bag as a makeshift piping tool. Cut a small hole in one corner and use it just like a piping bag.
How Do I Avoid Making Mistakes While Writing on a Cake?
Practice is key. Always practice on parchment paper or a flat surface before piping directly on the cake. Additionally, use a stencil or light guidelines to help keep your letters straight and even.
How Long Does It Take for Icing to Harden on a Cake?
This depends on the type of icing. Royal icing hardens within 30 minutes to an hour, while buttercream can take longer, especially if it’s thick.
Can I Write on a Cake with Chocolate?
Yes, melted chocolate is an excellent option for writing on cakes. It creates smooth, glossy letters and works particularly well on cakes with darker icing.
Final Tips for Perfect Cake Writing
To wrap things up, here are some additional tips to make your cake writing easier and more professional:
- Use a stencil or pre-marked guides for even lettering.
- Allow the cake and icing to set before attempting to write.
- Always practice first before writing on the actual cake.
- Take your time and don’t rush. Writing on cakes is an art, and like any art, it requires patience.
Conclusion
Learning how to write Happy Birthday on a cake may seem daunting at first, but with the right tools, techniques, and a bit of practice, anyone can master it. Remember, cake writing is an opportunity to add a personal touch to your creations, so don’t be afraid to experiment with different styles and methods. With this guide, you’re now well-equipped to create beautiful, meaningful cake messages that will wow your friends and family at every celebration.